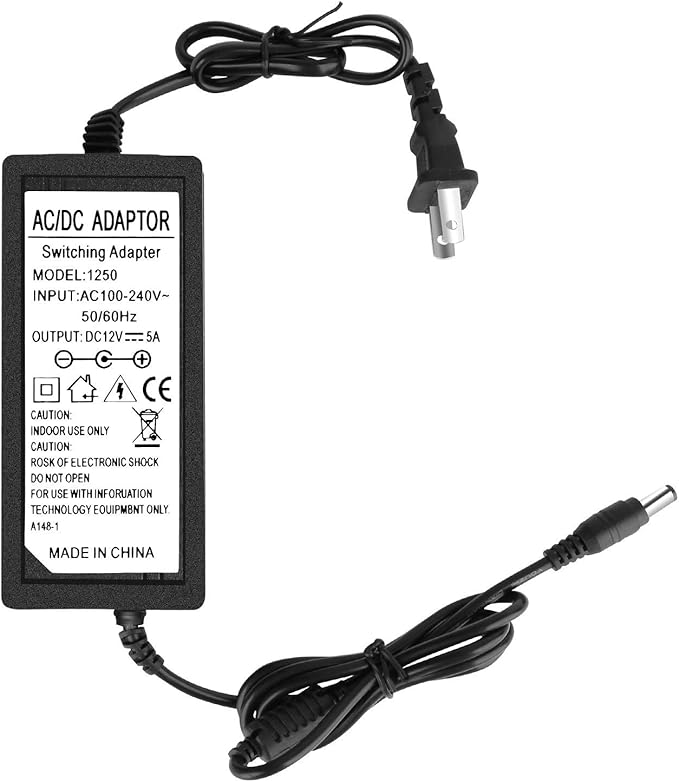
A waterproof 12V lighting system you can run throughout your haunted house easily.
Be sure to order the correct quantity of materials for how many lights you want to make.
For this build, we followed VanOaks tutorial, however, we made a few modifications, we recommend watching both of these videos, buying supplies (see our list below), and then reading our modifications below.
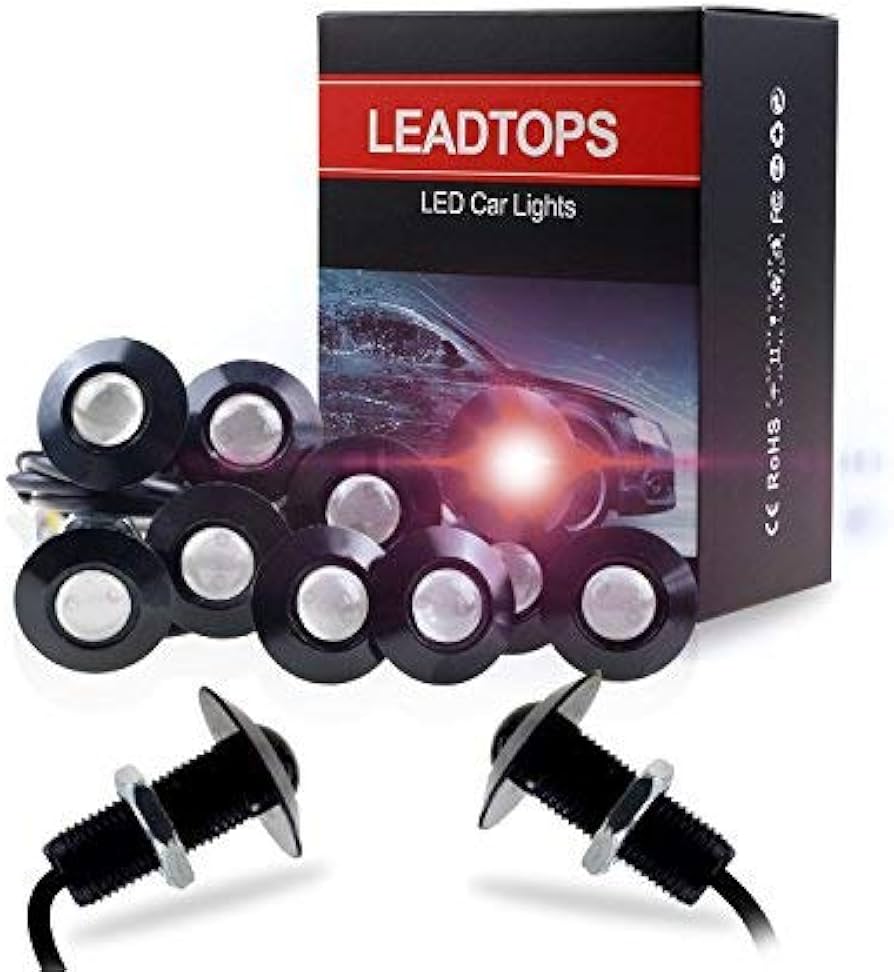
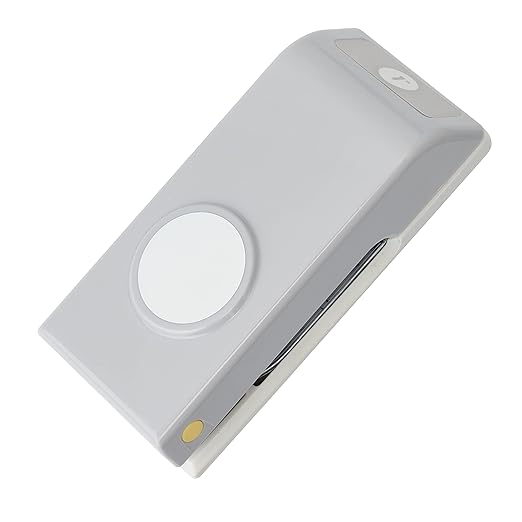
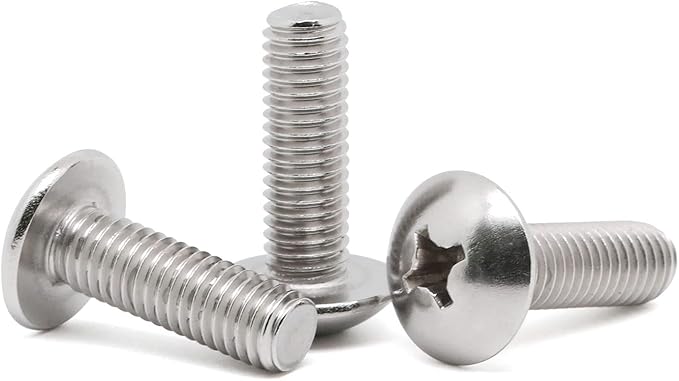
Here's everything you'll need for this build.


Following these instructions make building the lights MUCH easier.
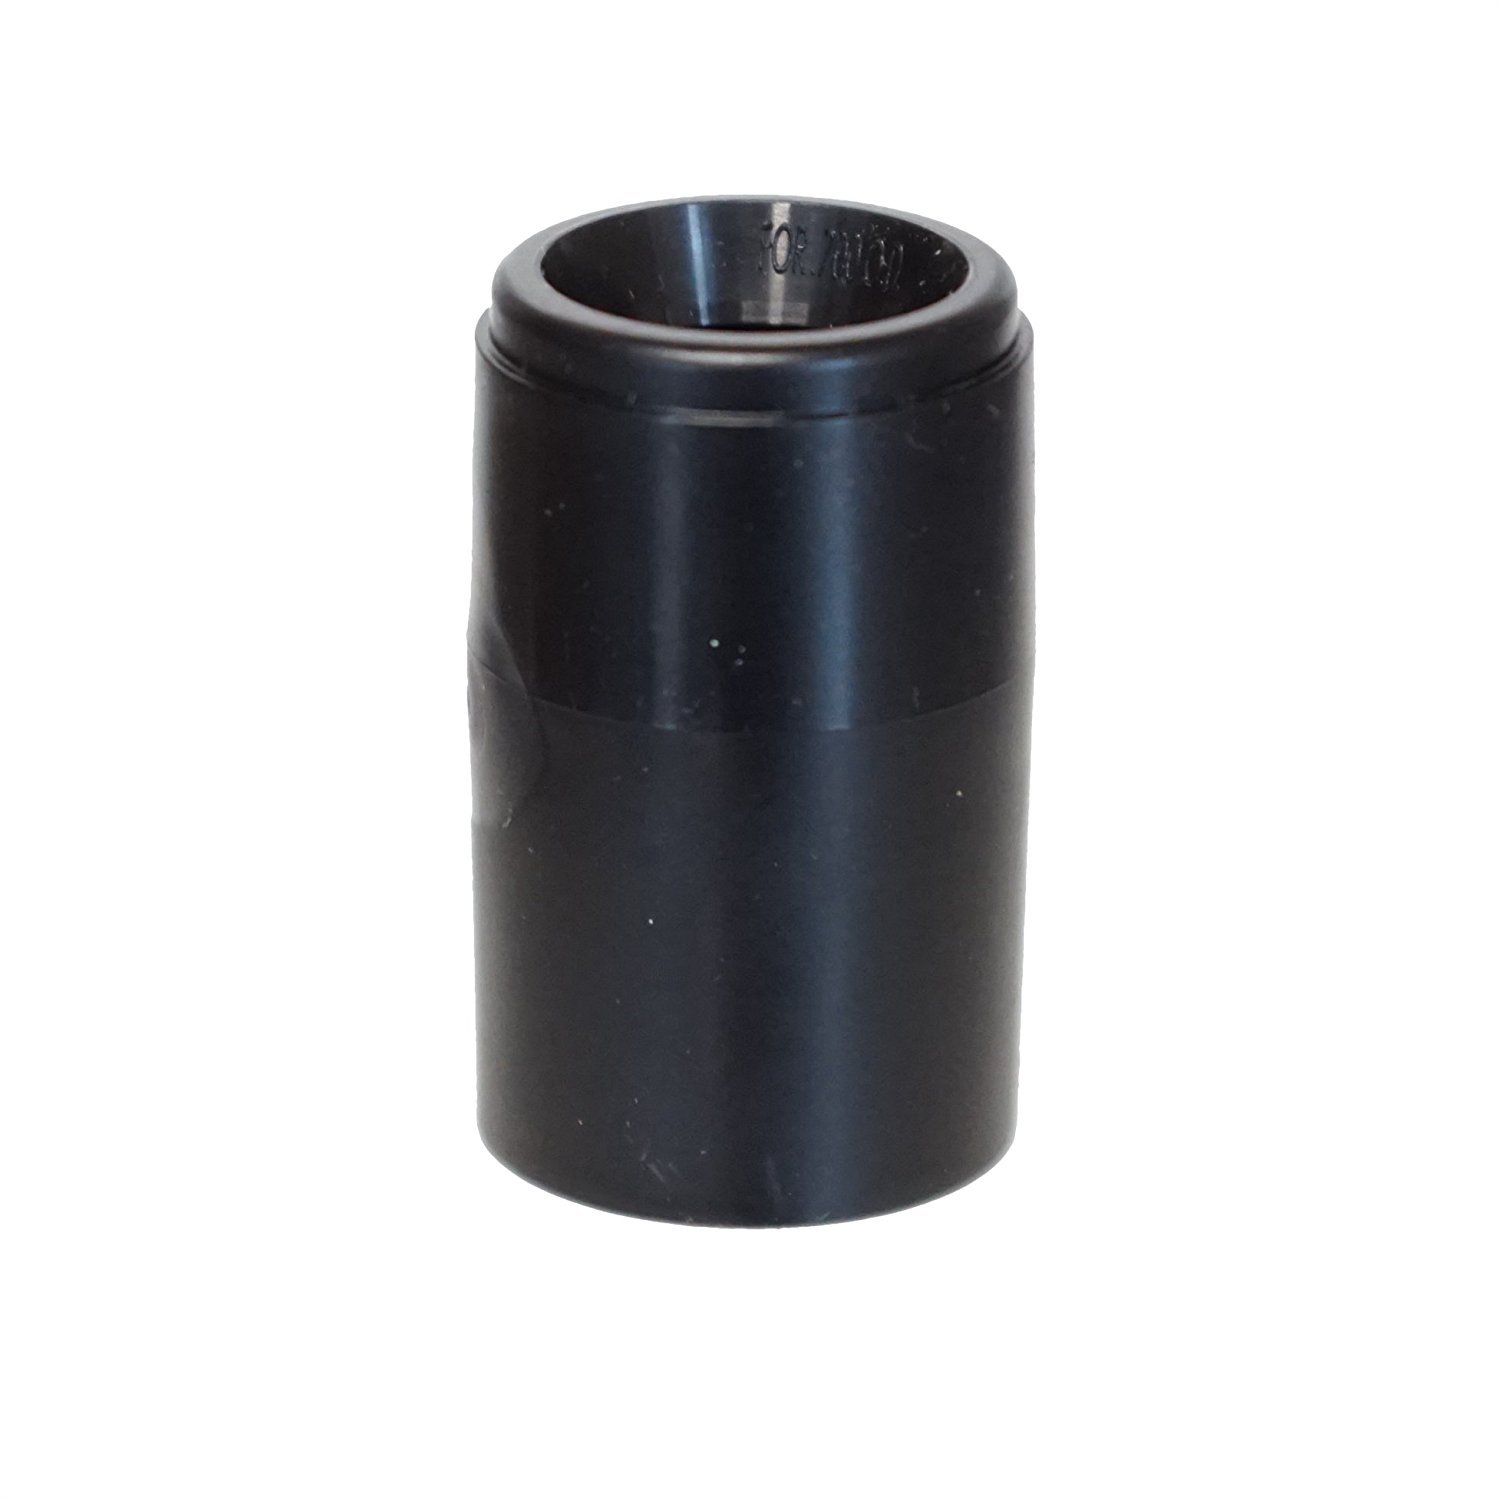
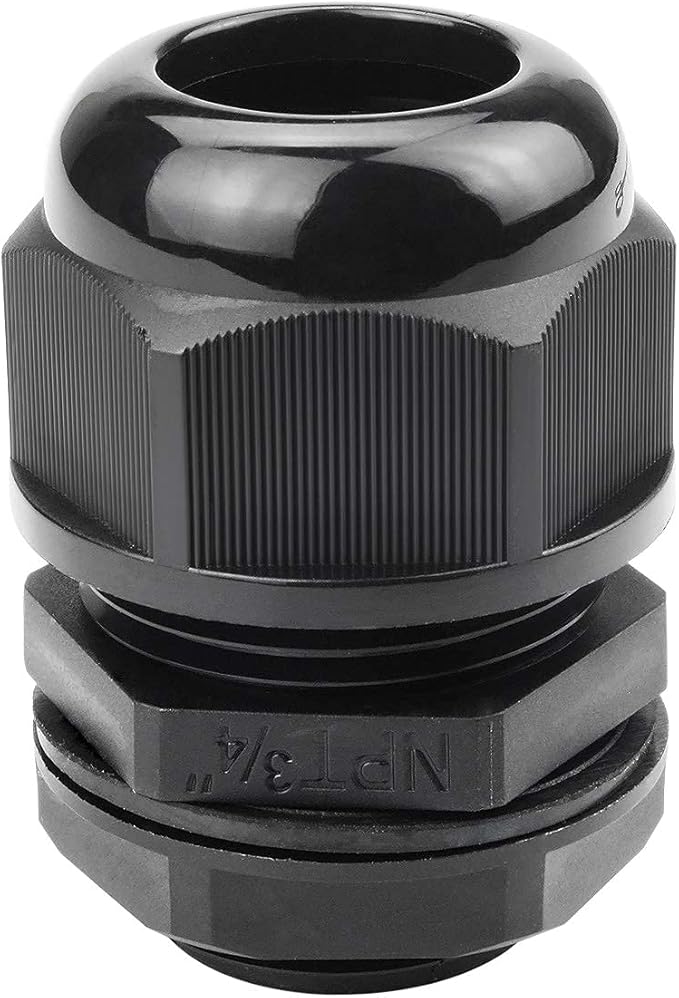
Use a heatgun on the coupling
To fit the light into the tubing coupling, don't sand/grind them down. Instead heat the tubing coupling with your heatgun and then push the light in around the edges with a screwdriver. If it doesn't fit, continue to heat the coupling.
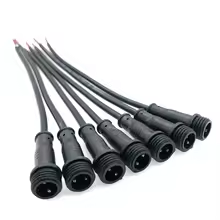
Strip Leadtop lights with a lighter
To strip the wires connected to the Leadtop lights, don't use a wire strippers. Instead burn off the ends with a lighter.
Use soldering shrink
Instead of soldering, be sure to use the soldering shrink from our electrical tools list. Also use regular heatshrink around these to hold the two wires together. Make sure to slide that heatshrink onto the 2 pin cable beforehand!!
Build multiple step-by-step
If you follow these instructions, you should be able to make dozens of lights in a matter of hours. We recommend building the power box first, then building one light to test. After that, do each step in bulk (ex: putting the LEDs into the couplings all at once) before moving on to the next step.